Suitable for all Jura superautomatic
This listing is for a set of O-rings for the Eugster Frismag brew group used in most Jura, Jura Capresso, and AEG and Krups Espresso machines.
These are the new improved red O-rings that Jura has been using since 2008 for the upper and lower piston of the brewing group. They are a direct factory replacement/improvement for the old black O-rings and are more service friendly thanks to only one size needed. (The black O-rings were less flexible and required you to use different sizes for the upper and lower piston).
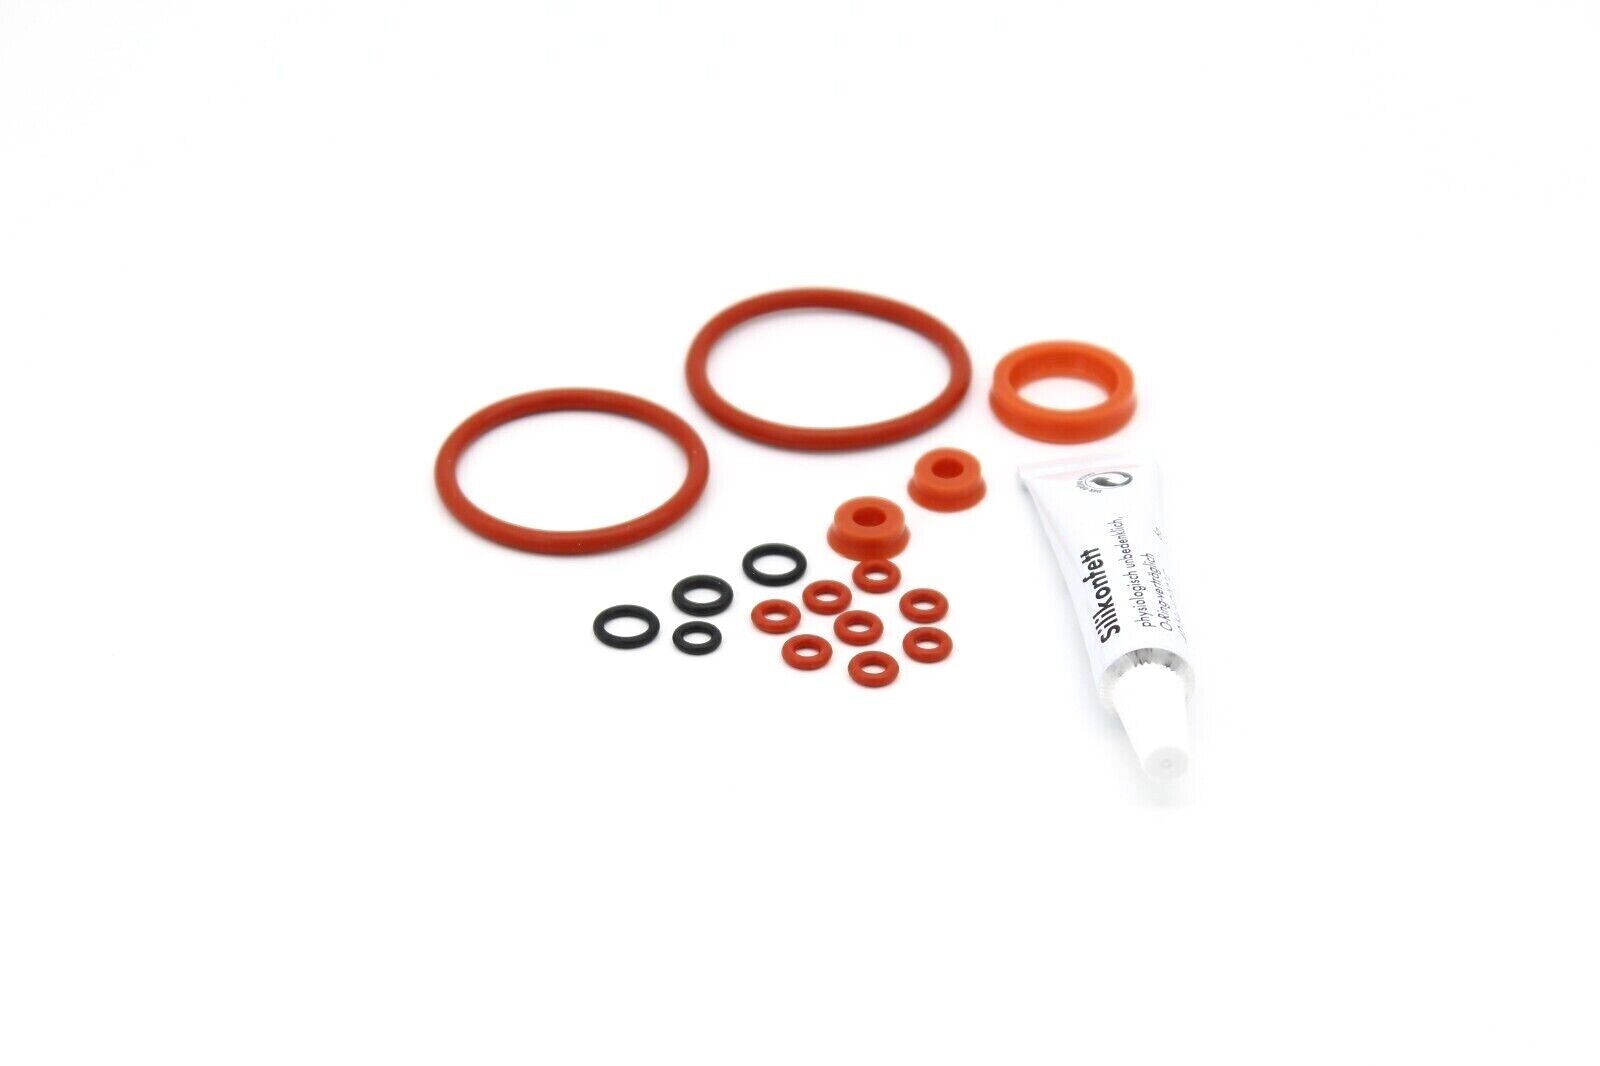
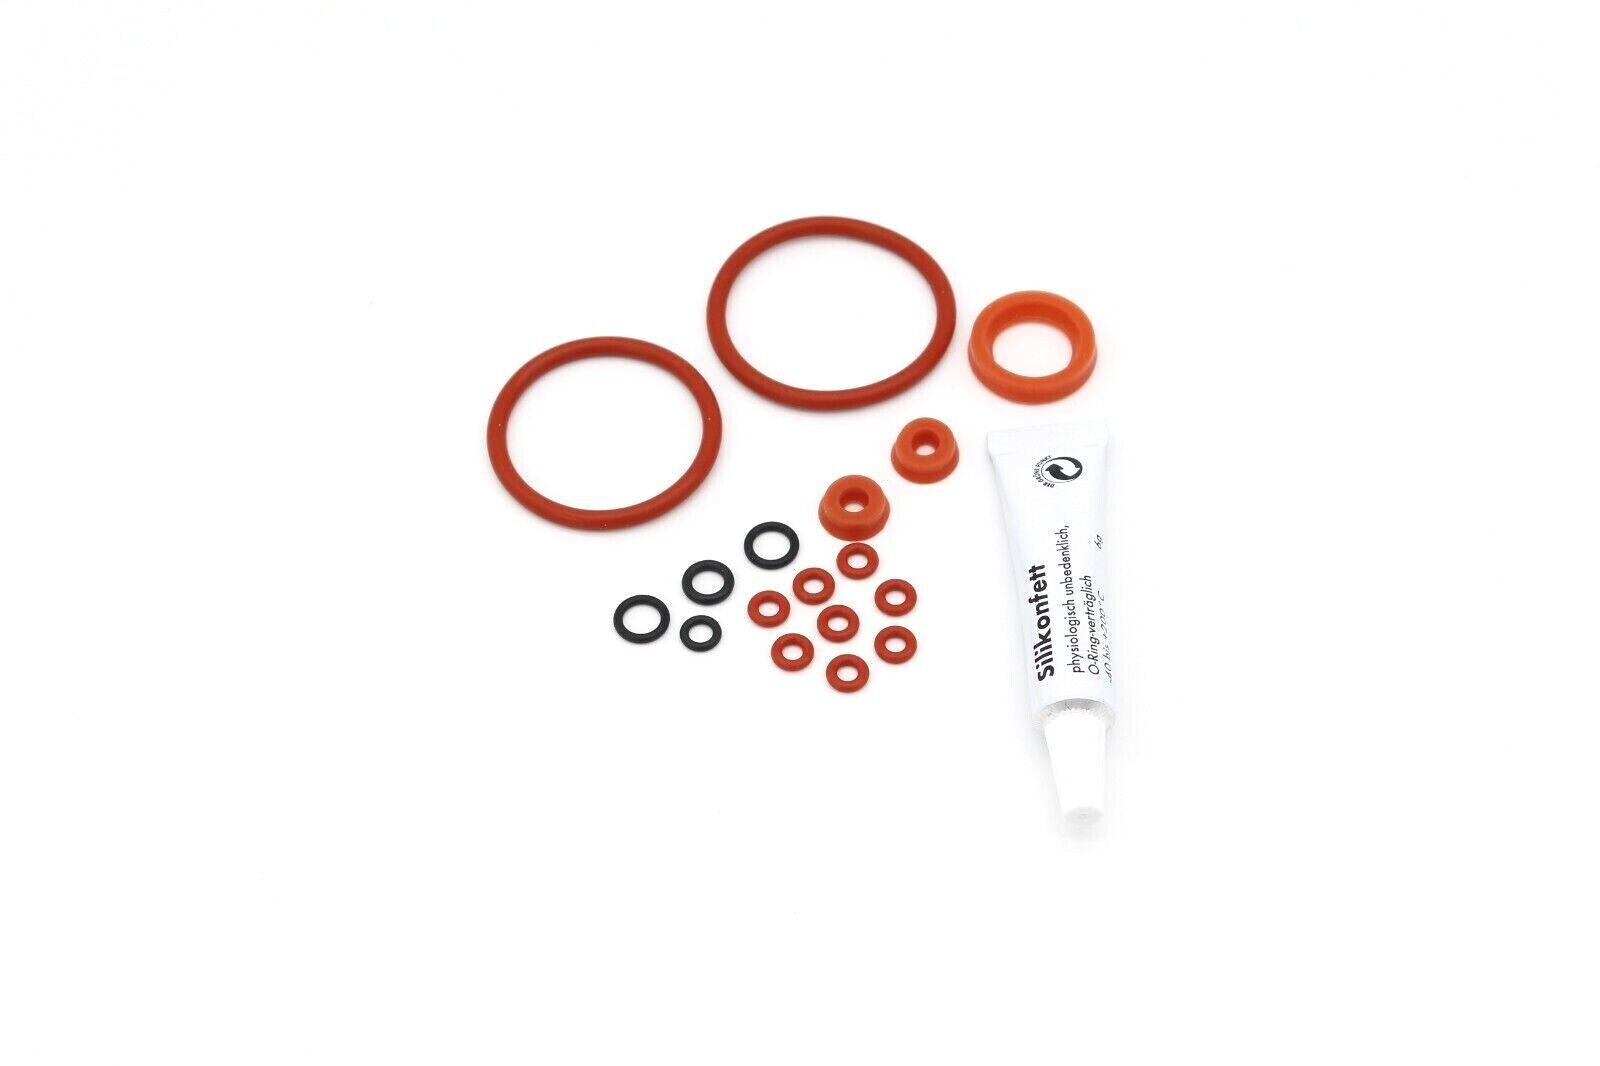
The set contains:
One O-ring for upper piston (can be replaced without dismantling the brew group)
One O-ring for lower piston (brew group needs to be dismantled to replace this)
One O-ring for the lower piston water inlet pipe on the drainage valve assembly (this is the small black O-ring packaged with the two lip seals)
Two lip seals for the drainage valve (located on the bottom of the brew group)
Ten 4mm O-rings. One of these is used when servicing the drainage valve. The other is intended for the brew group water supply hose and the rest can be used anywhere else in the machine, for instance at the pump connection – a common source of leaks. Note that older machines use a mix of black neoprene rubber rings for cold water and red silicone for hot water as a cost saving measure. The red silicone rings are better quality and should be used throughout the machine as Jura themselves have been doing in recent years.
Two O-rings for the raiser tube (located inside the upper piston).
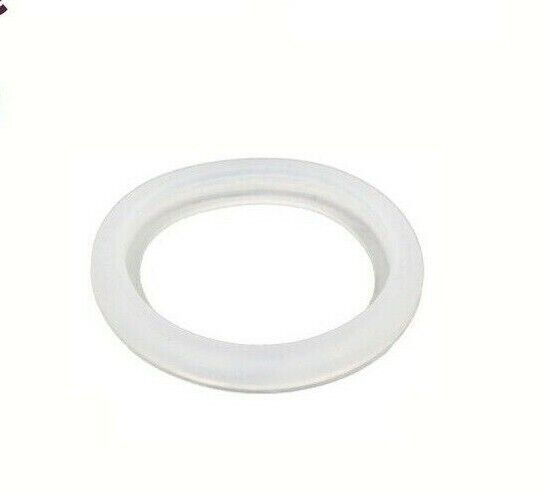
Water tank lip seal. (Older machines may use a black neoprene rubber seal. Jura changed over to using the red silicone seals in 2008).
You may notice that the kit does not include the aluminum cap for the drainage valve rod. The reason is because we do not recommend replacing the original white cap. Instead, you should do the following permanent and reliable fix: Simply add a drop of 5-minute Epoxy glue in the two slots on the original white cap. Twist the cap to let the Epoxy get everywhere inside the cap. Let dry. This repair guarantees that the cap won’t ever come off.
To our knowledge the O-rings will work for these machines. Please note that this list is not complete:
Jura/Capresso: C5, C9, C50, C55, C60, C65, C70, C75, C90, C1000, C1300, C1500, C2000, C3000, D6, D60, E5, E6, E7, E8, E9, E10, E20, E25, E30, E40, E45, E50, E55, E60, E65, E70, E74, E75, E80, E85, ENA3, ENA4, ENA5, ENA9, ENA X1, F5, F7, F8, F9, F50, F70, F85, F90, F900, Giga 5, Giga W3, Giga X3, Giga X3, Giga X7, Giga X8, Giga X9, Impressa 300, Impressa 500, Impressa Evolution XT, J5, J6, J7, J9, J9.2, J9.3, J9.4, J10, J80, J85, J90, J95, J500, S7, S8, S9, S50, S55, S70, S75, S80, S85, S90, S95, WE6, WE8, X5, X6, X7, X8, X9, X30, X70, X90, X95, XF50, XF70, XJ5, XJ6, XJ9, XS9, XS90, XS95, Z5, Z6, Z7, Z8, Z9, Ultra, Cappuccinatore, M30, Scala, Scala Vario, Evolution, 201, 300, 401, 500, 601, 801, 2000, 3000, 4000, 5000, 6000
AEG Cafamosa: CF 80, CF 81, CF 85, CF 90, CF95, CF 100, CF 120, CF 200, CF 300, CF 400, CF 500
NOTE: This kit is NOT for the Jura ENA8, Jura ENA MICRO series, nor for the A-series that use smaller piston O-rings. This kit is the correct one for the ENA series, but not for the ENA 8 or the ENA Micro series.
To replace O-rings in brew group:
Snap off the top cover (near the white gear) by gently prying it off in the corners.
Snap off the left and right cover. Each cover is attached with 4 tabs (note that one of the tabs is hidden).
Remove the two control arms and pay attention to the two metal bearings that will fall off. (Don’t lose them!)
Unscrew the white gear and note what side goes upwards for reinstallation (for instance use a black marker and put a dot on the side that faces upward).
Now the upper piston can be removed. Make a note of the orientation for reinstallation (it can be rotated 180 degrees and it may not be obvious what way it goes unless you make a note of it).
Change the O-ring on the upper piston. Remember to apply grease to the O-ring.
Optional: Unscrew the screw that holds the metal filter mesh in place and clean it. If the mesh is visibly dented or damaged you should consider replacing it since a dented filter may affect the ability to achieve a good crema.
Pull out the valve assembly (it slides out toward the bottom of the brew group) and replace the O-ring on the water inlet pipe. Note that it’s the thinner of the two O-rings in the set that goes here. Again, remember to apply grease to the O-ring.
Remove the two 7mm locking rings on the bottom of the group and slide out the metal rod.
Swing the bottom assembly with the gears to the side. Again, watch for two more bearings that will fall out!
Press the bottom and top part of the assembly together all the way to release the lower piston.
If you decide to remove the lower gear assembly for cleaning, pay attention to the orientation! It’s easy to accidentally put it in the wrong way resulting in a non-working brew group. (If all coffee goes in the tray, this is probably what you’ve done wrong)
Replace O-ring, clean everything, apply fresh silicon grease to the O-ring and to the cylinder walls.
When reinserting the lower piston, make sure to press the gear assembly and the cylinder assembly (the brown parts) firmly together, then insert lower piston with a firm press engaging it into the gears.
Insert the steel rod (don’t install the two locking washers yet). Install the two inner bearings.
Test the track movement and make sure the piston does not jam against the black plastic. If this happens, the piston was not properly installed, Go back and redo these steps.
Install locking washers.
Slide valve assembly into place.
Slide upper piston into place (make sure it’s inserted in the correct orientation)
Screw on the white gear making sure to get the correct side upwards
Install outer bearing on one side, put control arm in place (rotate white gear to line things up), snap cover on. Do the same on the other side.
Snap on top cover. Test function (see note below). DONE!
IMPORTANT: Do not apply grease to the tracks where the four metal bearings run. These tracks must be clean and free of lubricant. This is important because the tracks are equipped with one-way feather stops, and if you grease the tracks the grease may cause the bearings to jump the stops and the brew group will malfunction. Grease should ONLY be applied to all O-rings and to the inside of the lower cylinder. Do NOT apply grease to any other parts. The plastic (Delrin) is self-lubricant. Applying grease to the mechanism will not do any good and results in coffee grounds and dirt getting stuck and eventually results in things gumming up.
BROKEN GEAR: A common problem with these brew groups is that the lower piston gear shaft comes loose. DO NOT GLUE IT! The material is Delrin (POM). Glue won’t stick well and ruins the brew group by preventing proper future repair. The parts need to be chemically welded using Hexafluoracetonesesquihydrate or alternatively molten together (using an SMD hot air pencil works great). Contact seller if you have a broken gear that needs repair.
When testing the brewing group movement, ALWAYS turn the white gear fully in one direction until it stops and then turn it all the way in the other direction until it stops. Never change direction midway! Before installation, turn the gear counterclockwise all the way. Then clockwise until the brew group is in “coffee loading mode”. (The cylinder is underneath the hole in the frame with the plunger in the bottom position, ready to be filled with coffee).
BLACK/RED SIZE DISCREPANCY NOTE: Prior to year 2007 the factory used two different size black neoprene O-rings for the upper and lower piston. In 2007, the factory switched to using the red silicone O-rings and one size only. For the past 10 years, I’ve had a couple customers that were confused when comparing the smaller of the old dried-out Neoprene O-ring to these new ones, and telling me it does not fit (without even trying them out). Don’t let the ancient black O-rings mislead you. Jura did not switch to these new ones without reason. They are the correct size, guaranteed!


Reviews
There are no reviews yet.