
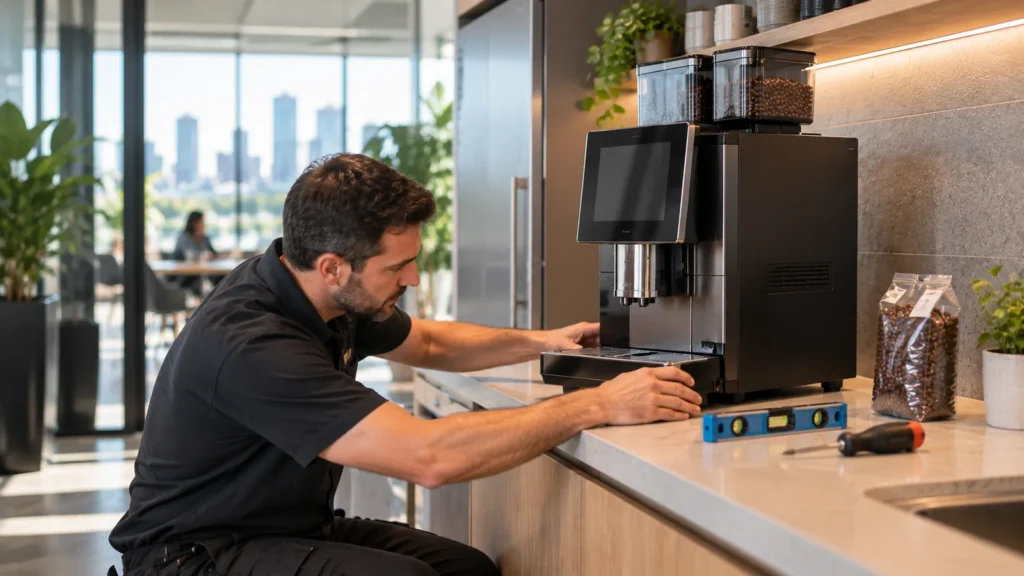
Getting a new coffee machine installed is straightforward when the groundwork is done in advance. Most delays and first-week frustrations come down to a handful of things not being checked before installation day. Here is a practical checklist covering installation, beans, and ongoing supply.
Before Installation Day: What to Check
Confirm the machine’s footprint fits the intended counter space. Check there is a standard power outlet within reach. If the machine is plumbed-in, make sure a water line and drainage point are accessible nearby. It is also worth confirming who on your team will be the main point of contact for the installer on the day.
Plumbed-In vs Self-Contained: Which Setup Do You Need?
A plumbed-in machine connects directly to your building’s water supply, which removes the need to manually refill a water tank. It does require access to plumbing near the install location. A self-contained machine uses a removable water tank instead. That makes it simpler to install anywhere, but it needs regular refilling. For office kitchens without easy plumbing access, self-contained is usually the more practical starting point. If you are weighing the two up, our guide to office coffee machine plumbing explains when a water line is worth running.
Installation Day: What to Expect
A typical commercial machine installation takes under an hour for a self-contained unit. A plumbed-in setup takes a bit longer, since it requires a water connection. The installer will position and level the machine, connect power and water if applicable, and run a test cycle. They will also walk your team through the basic controls before leaving.
Choosing and Ordering Beans
Most suppliers offer a small selection of house blends suited to bean-to-cup machines. These typically range from a milder breakfast blend to a stronger, more traditional espresso roast. It is worth ordering a smaller first batch to confirm staff preference before committing to a larger recurring order. Taste preference varies more between offices than people expect.
Setting Up Ongoing Supply
Once you know your team’s daily cup volume, set up a recurring bean delivery so the machine never runs dry. Most rental agreements can bundle beans into the regular invoice. You can also order separately on your own schedule. Either way, a standing order removes the risk of someone forgetting to reorder during a busy week.
Staff Training: Getting the Most from Day One
A five-minute walkthrough on installation day is usually enough for most staff to use a bean-to-cup machine confidently, since the interface is designed to be simple. It is worth nominating one or two staff members to learn the basic daily cleaning steps. Emptying the drip tray and wiping down the milk system are the main ones. This keeps the machine in good condition between scheduled services.
Frequently Asked Questions
How long does installation actually take?
Most self-contained machines are installed and ready to use within an hour. Plumbed-in installations can take longer depending on how accessible the water connection is.
Do we need a plumber for a plumbed-in machine?
Usually not for the machine connection itself, since installers typically handle this. If there is no existing water line near the install location, a plumber may be needed to run one first.
Can we change bean blends later?
Yes, most suppliers let you switch blends on future orders if staff preference changes, without needing to change anything on the machine itself.
What if the machine location doesn’t work once installed?
Self-contained machines can usually be relocated fairly easily since they do not require a fixed water connection. Relocating a plumbed-in machine is more involved and best planned before installation.
Get a Free Quote for Your Office
Ready to get a machine installed? Tell us about your kitchen setup and team size. We will walk you through exactly what installation day will involve.
Once the machine is installed, the habit that matters most is the two minute daily clean, which prevents most avoidable faults.